Lifestyle
Tips To DIY Cabinet Refinishing and Repainting
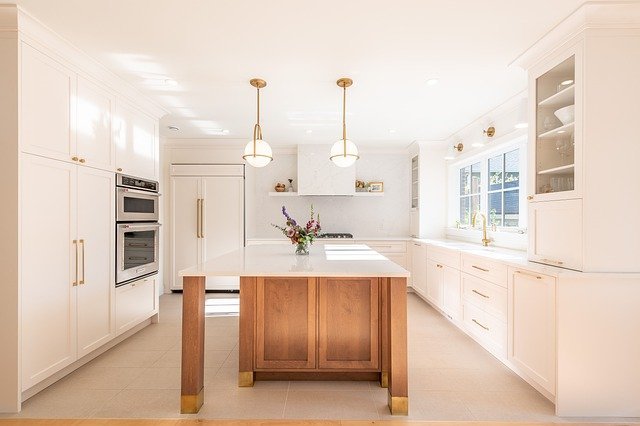
Image by KIron SajoL from Pixabay
Do it yourself repainting and refinishing your old kitchen cabinets can look super simple on Pinterest, right? Just a few coats of your favorite paint and your cabinets will be spruced up in no time. However, painting your cabinets is not a small undertaking as one misstep can result in a huge DIY disaster that will cost you a lot of money to fix. If you are not a professional painter, chances are the final paint job may be inferior and you might even end up hurting yourself or the people around you if you are not careful.
There is more to painting and refinishing cabinets than meets the eye. This is why La Clave Improvements.Inc is available for all your cabinet refinishing and repainting long island and new york city. Call them if you are looking to affordably renovate your old cabinets to match your current style and color scheme for your house.
Before you begin your DIY cabinet refinishing and repainting, be sure to read these 3 tips to ensure that you get the job done right.
1. Take Time to Prepare
The secret to getting amazing results from DIY projects is preparation. Before you start refinishing and repainting your cabinets, take time to read and gather information to prepare for the job. Ideally, refinishing is the fastest and most affordable way to bring life to your old and dreary cabinets. Refinishing keeps all your cabinets components and all you have to do is simply strip the old finish by sanding the wood and later applying a new coat of paint or stain.
If you can, take one cabinet door to your local professional painter and consult on the type of paints you will need to achieve the best results. A professional painter can give you useful information that is specific for cabinet repainting and refinishing and this will go a long way in ensuring that you make minimal mistakes during your DIY project.
It is also important to gather all the tools and materials you will need before you begin your project. Ensure that you have a cordless drill or screwdriver to remove the cabinet doors and paint them before reinstalling them. Also ensure that you have rubber gloves, a tack cloth or rag, paint rollers and brushes, wood filler, sandpaper, deglosser, high-quality paint, and painter’s tape.
2. Start From Scratch
Repainting your cabinets can often bring out all the imperfections and flaws. For example, if you don’t use the right tools, your cabinets will end up with visible stroke marks which are usually so unsightly. Make sure that you start from scratch. Clean cabinets carefully to remove grime, wax, and dirt build-up. If soap and water are not sufficient, you can purchase a paint prep degreaser to wipe down all the cabinets before painting.
You will also need to sand your cabinets before painting. Sanding eliminates flaws such as brush marks and enables the new paint to adhere better. If you notice damaged areas on the cabinets while sanding make sure that you repair them first before painting. Remember, covering the damage with paint will not fix the problem. Once you have finished sanding, you can fill the damaged areas with wood filler for excellent results after painting.
3. Avoid Common Mistakes
Before you start painting, make sure you avoid common mistakes such as; overloading your roller or paintbrush with paint as it will cause the paint to drip on the floor. Don’t rush the drying time; remember, professional painters, allow the cabinets adequate time to dry before they hang them back to avoid smudges.
SEE ALSO: 5 Sustainable Home Improvement Ideas to Improve your Home’s Value


What Makes a European Food Market Different From a Regular Supermarket

Nasdaq Trading Strategy: A Beginner’s Guide to Trading US Indices

The Hidden Health Cost of Constant Busyness: Why Rest Is a Productivity Tool

Insider Tips for Buying a Home in Houston, Texas

Understanding Eagle, Idaho’s Real Estate Market: Trends, Insights, and Buyer Strategies

Orlando Housing Market 2026: Trends, Neighborhoods, and Buyer Strategies

Calculating the Real ROI: How a Branded Canopy Tent Pays for Itself in Modern Marketing

How to Choose the Right Funeral Home for Your Loved One

When the System Stops Feeling Like Freedom: How Franchise Owners Can Reclaim Their Drive

Blanche Leridon Mari

100 Motivational Quotes to Inspire You in 2026

100 Motivational Quotes to Start Your Day with Positivity

How to Create a Vision Board That Actually Works (2026)

Top 50 Motivational Quotes for Success and Hard Work

22 Best Self-Help Books to Read in 2026

Changing Your Spending Habits

How to Achieve Personal Growth in 2026

New Year Wishes and Quotes to Inspire and Celebrate (2026)

50 Motivational Quotes with Images to Share on Pinterest

Do I Have to Pay a Debt That’s Very Old?
-

 Motivation5 years ago
4 Fun New Hobbies To Try This Year
-

 Quotes3 years ago
53 Motivational Gym Quotes to Fuel Your Workout
-

 Travel2 years ago
Why You Should Travel More: The Many Benefits of Seeing the World
-

 Quotes11 years ago
50 Most Powerful Quotes Ever Spoken
-
 Quotes6 months ago
100 Motivational Quotes to Inspire You in 2026
-

 Quotes2 years ago
43 Inspirational Quotes About Thoughts
-

 Quotes4 years ago
105 Motivational Quotes by Famous People
-
 Quotes12 months ago
100 Motivational Quotes to Start Your Day with Positivity